
Post-Clean
Product introduction:
Better design to ensure safety and intelligence, using ultrasonic cleaner to clean the 3D frame with alcohol, the surface is smoother.
- Product Description
We are committed to the 3D printing industry,we have our own factory .Everything will be shipped
soon and with high quality. Welcome to place order
DESCRIPTION
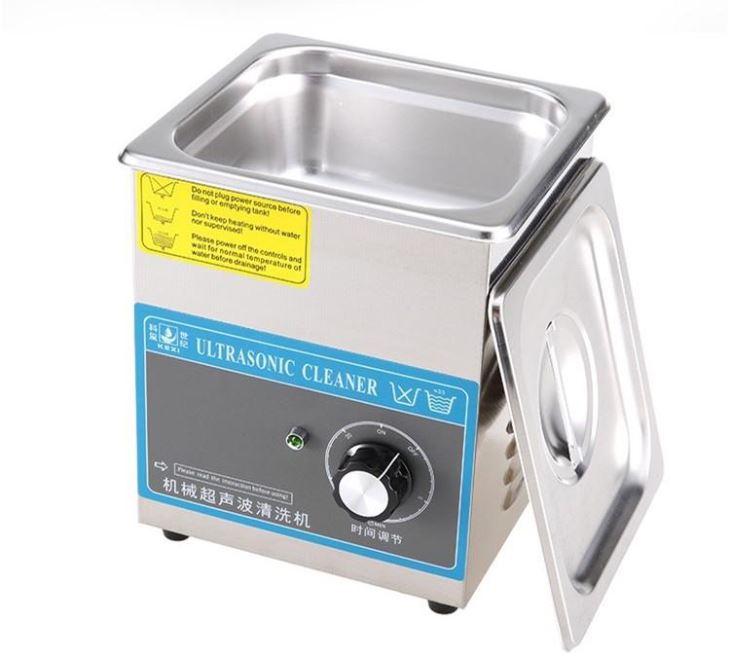
Ultrasonic Cleaner
Tech Specs
Capacity | 1.3 Liter | Tank Size | 150*140*65mm |
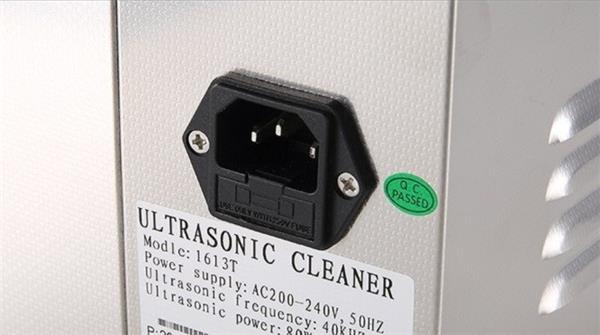
Unit Size | 160*145*190mm | Power Supply | AC 110V-120V 50/60Hz |
Material | Stainless Steel | Ultrasonic Power | 40W |
Ultrasonic Frequency | 40KHz | Net weight | 2Kg |
Time Setting | 0-20Minutes | Gross Weigt | 2.5Kg |
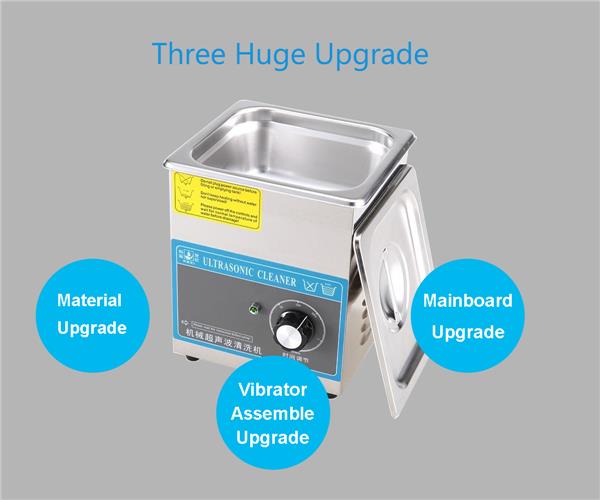
Product Feature
Cleaner for 3D printing
")
")
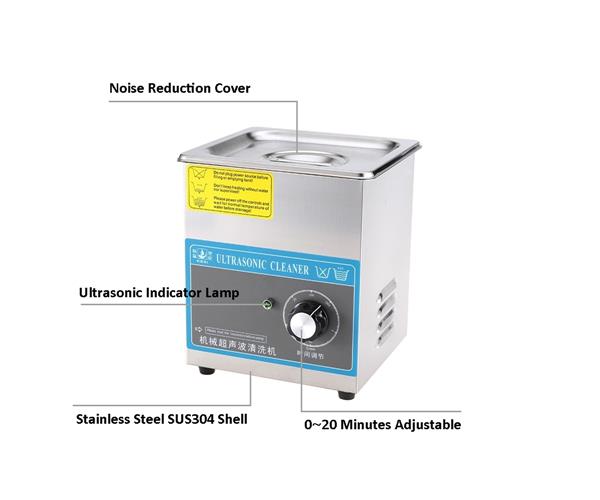
Structure and composition
")
Detailed features
Good equipment reflects powerful functions
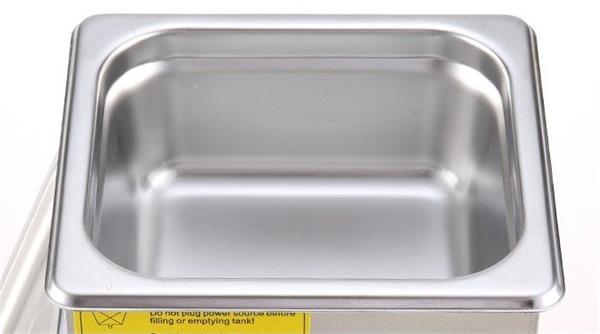
purge tank
")
Industrail SUS304 tank, Safe and durable
Safe, Corrosion resistance, Heat resistance, Durable
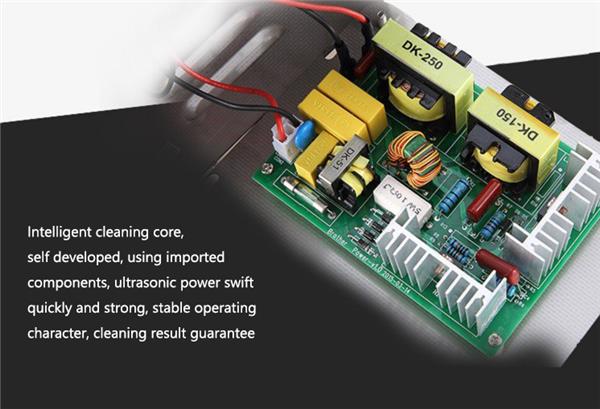
control board
")
")
Double fuse design more safe more smart
Better design for safe and smart, equipment have fuse box, breakout once leak or
short circuit, make human body safe.
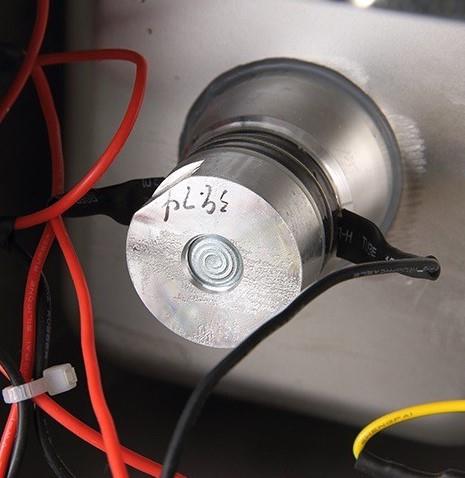
Vibrator
")
Punching, Sand blasting, Cleaning, drying, screw vibrator fixing, using import
high temperature glue, solve line problems of cylinder broken or vibrator drop
No matter what you need, please feel free to contact us.
Contact Us : xslightings@xslightings.com
USE and Maintenance
1. Choose cleaning fluid, better cleaning result
2. No water operate is prohibition, damage machine
3. 2/3 cubic water is necessary if using heating function
4. Machine components & circuits will be damaged under high temperature, away from heat source
-
The x-axis direction of the print model is offset
Resolvent:
1: The synchronous wheel on the x-axis motor is loose and the jacking screw on the lower synchronous wheel is tightened;
2: The belt is used for a long time and becomes loose. It can be tightened with elastic buckle.
-
How to replace the consumables in printing
Resolvent:
When printing filling or supporting, rotate the knob anticlockwise on the main interface of the display screen to adjust the printing rate FR100% to 10%. After the printing speed drops, press and hold the extrusion spring clip to quickly pull out the old consumables, and then load the prepared new consumables into the printer (note that the consumables should be inserted in place). Then adjust the printing rate to 30% - 40% to see if it can print normally, and then adjust the printing rate to 100% after everything is normal.
-
Leveling steps while printing
Resolvent:
When printing, rotate the knob anticlockwise to reduce the FR100% (printing rate) on the screen to 30%, and the printing speed will decrease. When printing the bottom layer, you can gently touch the printed consumables to see whether they are glued to the platform. If not, it means that the gap between the nozzle and the platform is too large. Adjust the platform here until the consumables near here can stick to the platform In other places.